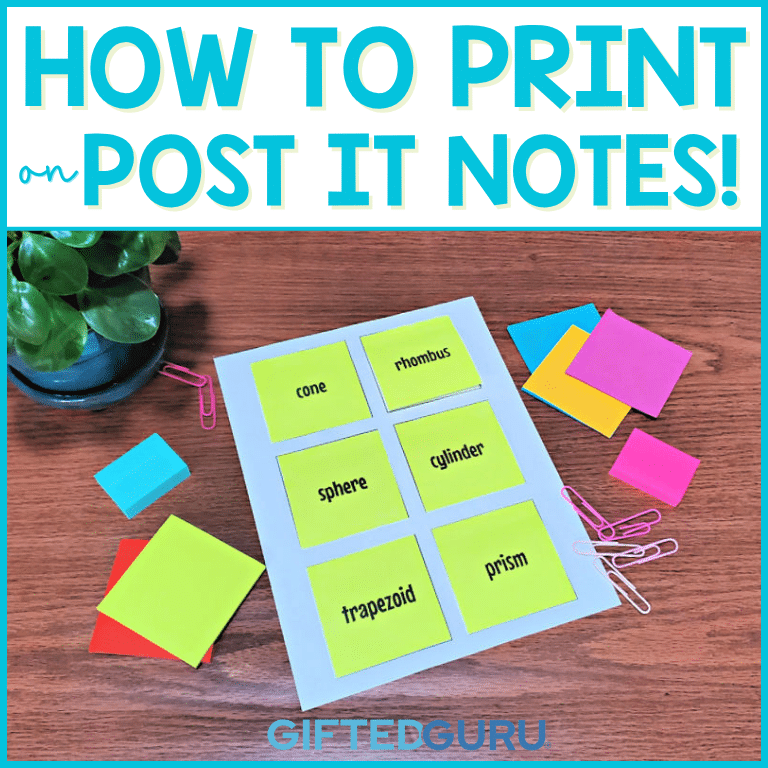
Printing on Post-its is a super useful trick to know how to do. It’s not complicated, but these steps and tips (and the free template) will make it super easy!
I wrote this article after I’d struggled to figure out the best way to do it and wanted to help others out!
Simple Steps to Printing on Post-it Notes
1. To print on Post-it® notes, copy the Google Slides template into your own Google Drive. (Grab it below.)
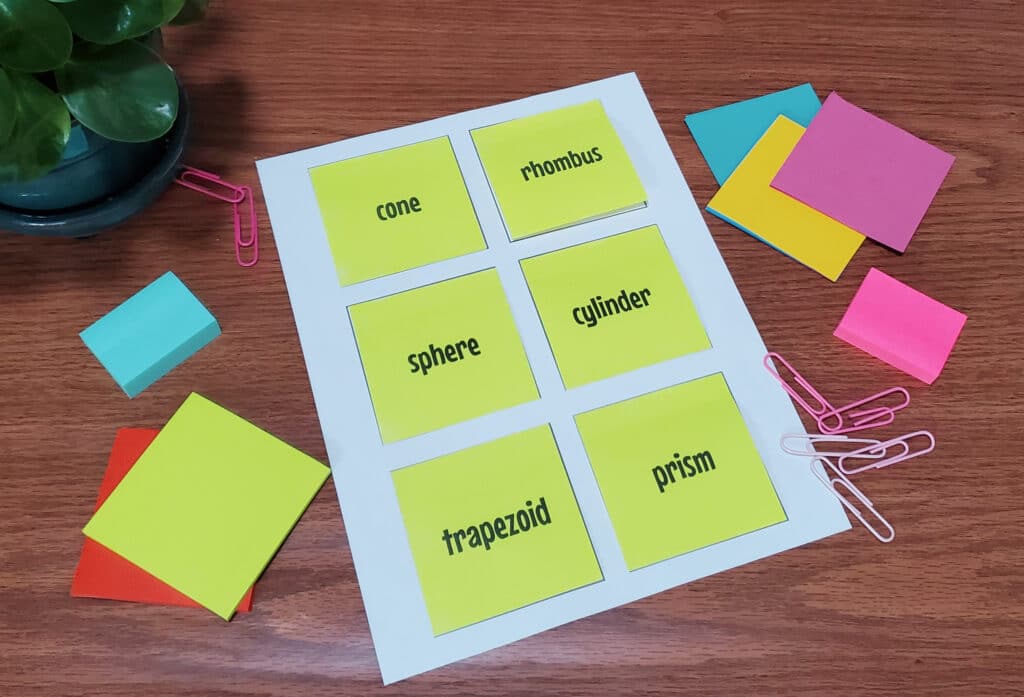
2. Print out the template page and position Post-it notes on it.
3. Use the design slide to design what you want printed.
4. When you’re ready to print, follow these steps:
- Click File → Print Setting and Preview
- Click Hide Background
- Click Print
- Select the page you want to print (this will look different on different printers). Click Print.
***Make sure you put the adhesive side of the Post-it toward the printer feed. If you don’t, you can jam up your printer.
Get the Post-it Printing Template
I’ve created a template for you in Google Slides® to make it super easy.
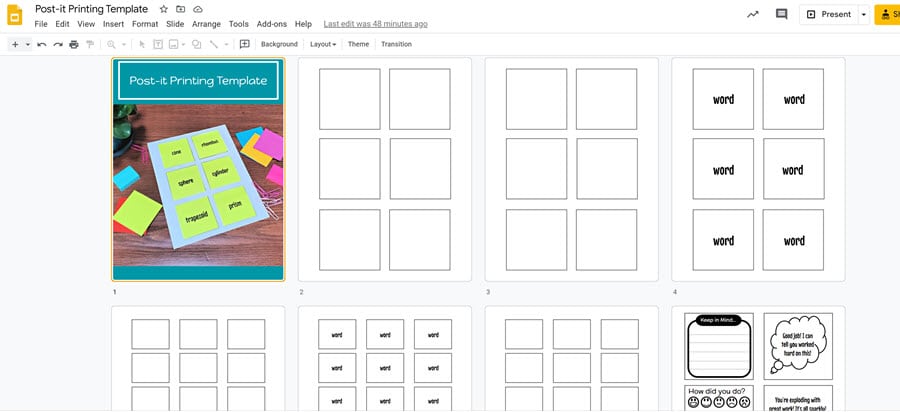
The slidedeck includes:
- 3” x 3” template
- a 2” x 1.5” template
- two design templates you can use to create your own Post-its
- an idea slide
- slides with editable text boxes already on the Post-it spaces for you to use if you’re playing vocabulary games
You can watch the video that shows you how it works (Hint: It’s easy.)
👉Click here to add the template to your Google Drive.
Ideas for Printing on Post-it Notes
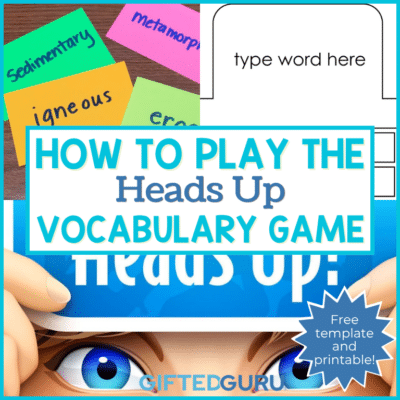
I print on Post-it notes all of the time. I specifically use it when playing the Heads Up vocabulary game, but that’s just the tip of the iceberg.
Think about things you are frequently writing on papers over and over.
Maybe you are writing:
- You worked hard on this. Good job!
- Look at this more carefully & turn it in again.
- Please show your work.
- Maybe you are sharing QR codes or other things with students.
All of these can be printed on Post-its instead of written or printed on much larger paper.
Post-its have the added benefit of being reusable (sometimes!).
Vocabulary Ideas
Since I’m focused on teaching vocabulary, I’ll share some of the ways I use this technique, in addition to the Heads Up game I mentioned earlier.
Letter Tiles
Use the small Post-its to print out letters and have students spell out words. Or, you write words on the board, leaving out letters, and have students fill in the missing letters with Post-its.
Sorting
I will print a bunch of words and have students sort them into categories.
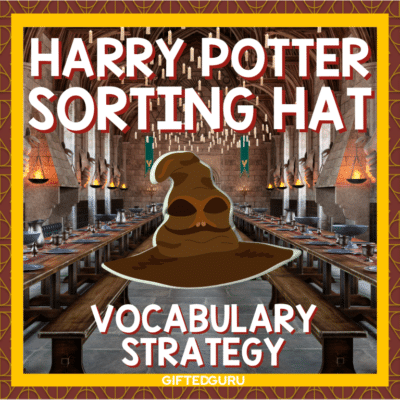
When I do this, I will often combine the Post-its with the Harry Potter Sorting Hat strategy. I even have some Harry Potter-ish clip art I’ll add to the Post-its.
You can use this for any content that benefits from being sorted.
I’ve had students sort words into parts of speech, sure, but you can also print angles on Post-its and have students match the image of the angle to the name of the angle.
A variation on that idea is to print lots of Post-its with the names of angles and have students put them on the angles they find in the classroom (or in their home and have them take pictures).
Wonder Words
Have students build a bulletin board of Wonder Words – words they think are cool – by writing the word on a Post-it and sticking it to the bulletin board.
Definition Matching Game
Type up the words you want students to practice (use the template slide).
Use the editable slide to print out Post-its with the definitions of those words and cover the words with the definition Post-its.
Divide students into small groups and have them take turns reading the definitions and guessing what the word is.
They say the guess out loud and lift the Post-it. If they’re correct, they keep the Post-it.
If they’re not correct, they return the Post-it and play resumes.
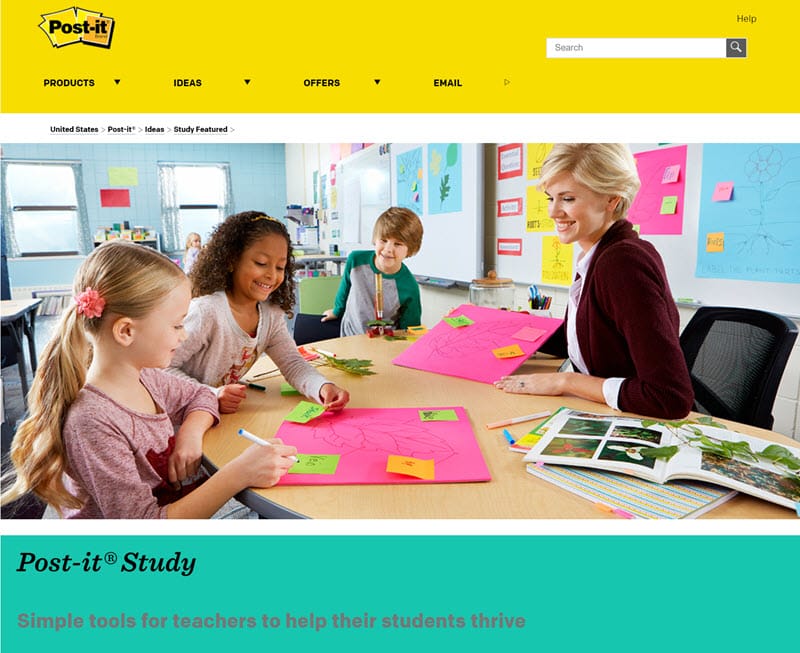
Get More Ideas
If you want more ideas, the 3M company has a whole page just for teachers with ideas.
Tips for Printing on Post-it Notes
Pro Tip 1: Hide that background!
Pay careful attention to the Hide Background step. If you don’t, you’ll end up with lots of extra lines.
Pro Tip 2: Don’t be too edgy!
Stay a smidge inside the lines, just in case you don’t position your Post-it perfectly.
Pro Tip 3: Be brand loyal
The brand really matters with sticky notes. I wish it didn’t because Post-it doesn’t have a small purple one, and I really want that 2” x 1.5” size in purple!
Unfortunately, the cheaper brands just don’t stick as well, and they’re a smidge too thin. So, stick with Post-its.
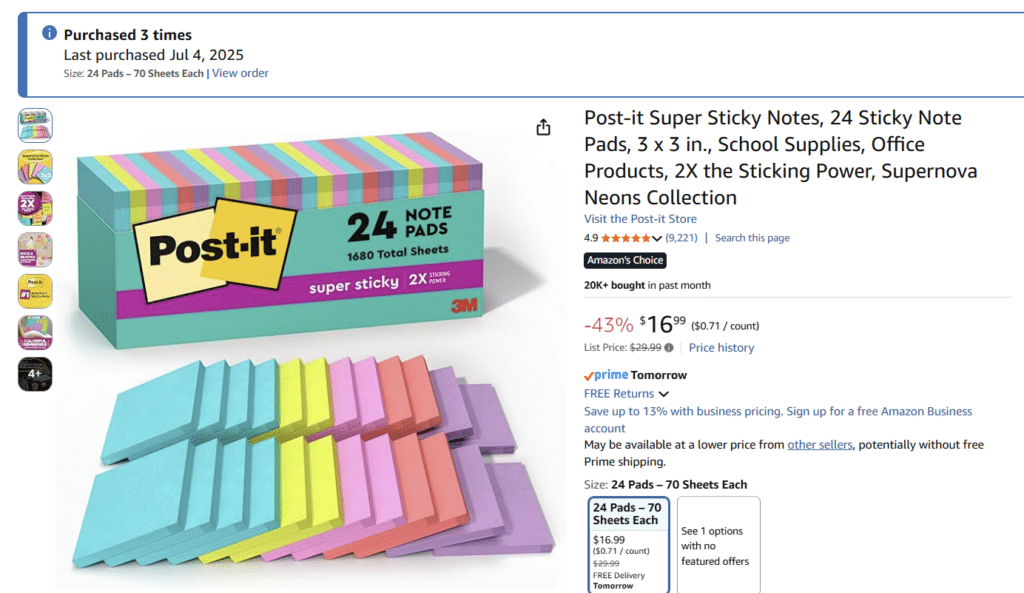
I have two particular sets of Post-its I buy. They’re the same color selection, just different sizes.
You can even see in one picture when I bought these. If you’re reading this a long time after I’m writing it, you can bet I’ve bought them again!
This is the 3in x 3in set I buy. (affiliate link)
This is the set of small Post-its I buy. If you click on the picture, it will take you directly to the Post-its on Amazon (affiliate link).
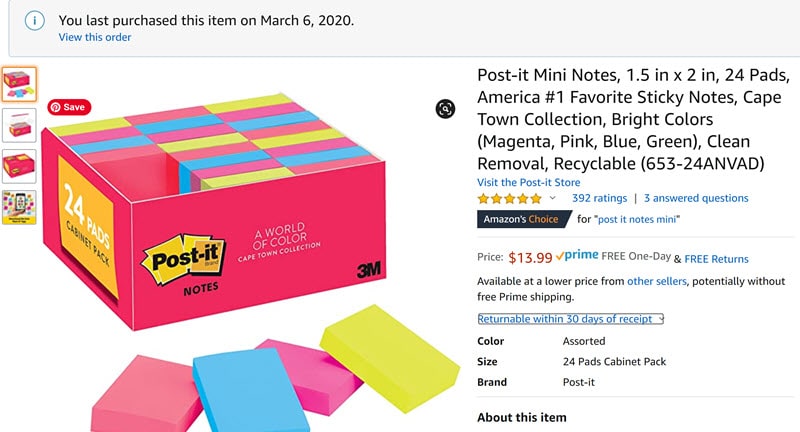
Sets of Post-its are organized by color groups called “collections.” You can make sure you’re getting the same colors by searching the collection name. My collection of choice is called “Cape Cod.”
I like Rio de Janeiro, too, but it doesn’t have that magenta/hot pink that floats my boat. It’s got orange instead. It’s the little things, my friends.
Wrapping Up:
I love printing on Post-its because it’s so functional, but it also makes me feel like I’ve got mad teacher skills. Like Liam Neeson in Taken. Okay, maybe not exactly like that, but still cool.
I hope you find the template helpful and useful!