Quality review activities are essential for content mastery. I’ve written about my favorite ways to review (boring) stuff, and one of those suggestions was review games.
Bingo in particular makes a great review game, and there are some best practies for making it as effective as possible.
If you like to use Bingo in your classroom (or if you’d like to try) here are my suggestions for making the experience as effective and powerful as it can possibly be.
1. Have enough bingo boards for each student.
It’s a newbie mistake to only have a few board versions. I strongly recommend having enough so that every student has his or her own unique board. If you don’t do this, too many students will get bingo at the same time. That means you will have spent all of that time creating the game, only to have it last just a few minutes. Trust me: if you’ve got 25 students in a class, you need 25 different boards. (See below for the programs I use to make my bingo boards).
2. Have markers that do not completely cover the answer.
If the marker completely covers the answer, it causes a couple of problems.
We’re playing bingo to review. Every time you call out a clue, the student is scanning the board, comparing what’s there to what they’ve heard. Neural pathways are lighting up and more connections are being made. It’s equally important that students review the answers that are not matches as much as the ones that are. If the answers are covered up, they don’t get a chance to reject those answers and lose some of the review.
Another reason is that when they think they have bingo, they have to move the markers to see their answers, and so does everyone else. Boards get messy and inaccurate.
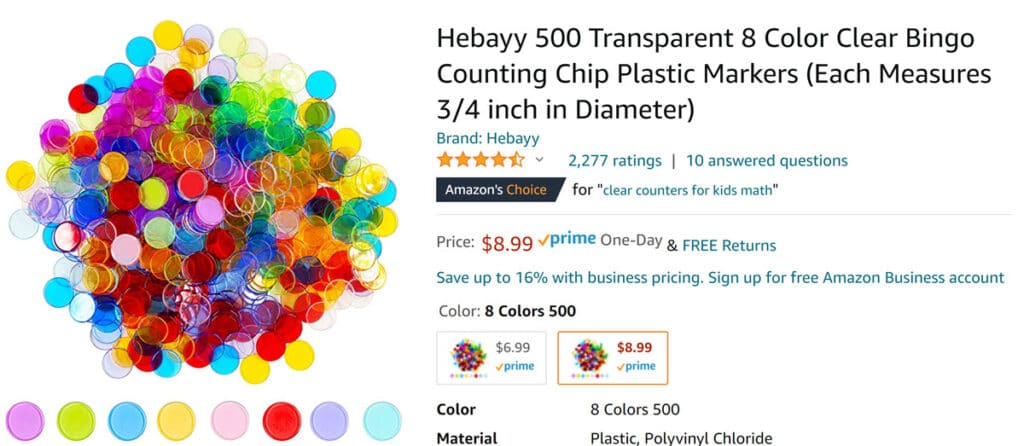
The solution? Translucent markers.
If you play frequently. I suggest investing in some translucent markers. These work for loads of things, not just bingo.
I use these [affiliate link]:
If you play infrequently, I also like using the big bags of generic Cheerio-type cereal. It’s cheap, and it works great. [Insert normal warning about allergies, blah, blah, blah.]
3. Wait to acknowledge bingo.
Have the student read out the words/phrases/numbers that he/she has. Do not agree or disagree with them until they have listed them all. Then, either say, “Bingo” or “No bingo.”
If the student says, “Liquid” and you say “Yes,” everyone who didn’t have “liquid” marked does now. That means that the game essentially ends whenever someone claims to have bingo, even if they don’t because their correct answers will send other students over the finish line.
So no approval until the whole list is read.
4. Value-add the bingo clues.
This one is all about the neuroscience, so please bear with me. The brain is somewhat fickle. It loves new information, but it only believes things that it’s heard before or make sense based on what it’s learned before.
This is partly why bingo is so fantastic! You can combine what you’re reviewing with new information. The brain is open to that new information because it’s connected to something it’s heard before that makes sense.
Why would you do this?
- It keeps it interesting for students who often think review is for suckers.
- It allows you to preview upcoming information (thus making it more likely the brain will value it when it hears it – see what we’re doing there?)
- It makes it more interesting for everyone, including the teacher.
Here’s an example from my class bingo review of some math practice. The number on the left is the answer. The statement to the right is the clue I read.
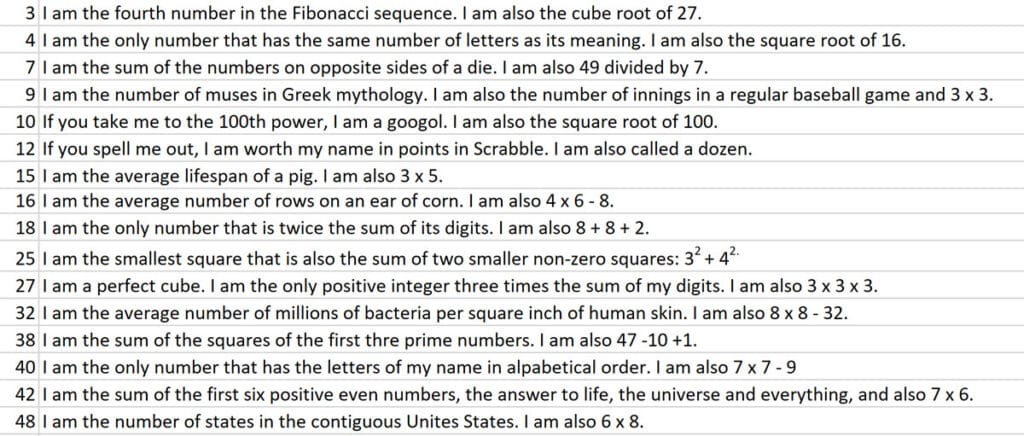
As you can see, some of the extra information has to do with math, and some doesn’t. I put pop culture in there, science, fun facts – you name it, and it’s there.
You can make yours anyway you like. What I’m showing here is the idea of value-adding the clues.
If you’d like this set, you can get them here.
5. Vary the winning pattern.
There are a number of different ways to score bingo.
- Traditional line vertically, horizontally, or diagonally
- Make a letter like “U” or “L”
- Blackout (all of the squares)
- Outside corners
- Inside corners (the four corners touching the corners of the free space)
- Small diamond (the free space and the spaces directly above, below, to the right and to the left of it)
My Favorite Programs for Creating Bingo Cards
You can make your own cards or have the students fill them out, but I find this really, really time consuming.
I use two programs for making bingo cards. There are others, and I’ve tried them all. These are the best (in my opinion).
BingoBaker
I’ve been using Bingo Baker for soooo long. I started using it because I loved being able to find boards other teachers had created. For example, here are a couple of boards from searching for “water cycle.”
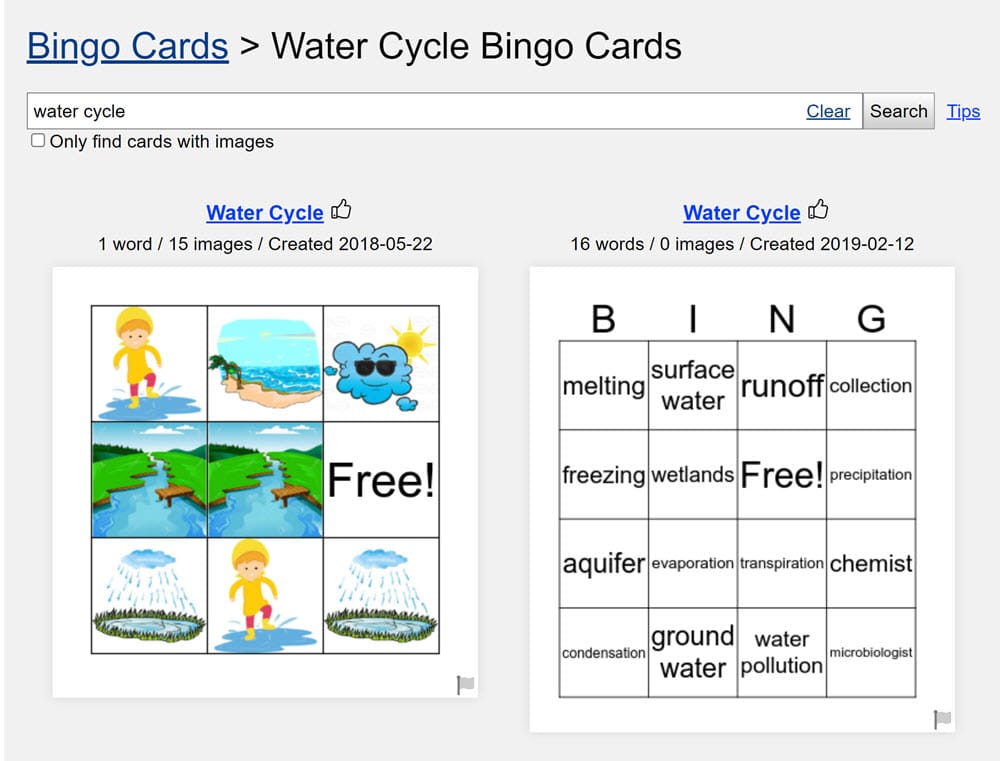
It’s got loads of features:
- You can create your own bingo boards or use/adapt ones other teachers have created.
- You can play online or print the cards.
- You can use images for clues, as well as words.
- You can make 5×5, 4×4 or 3×3 boards. This is useful when you don’t have a lot of concepts to review.
- You can print up to 4 cards per page and up to 8 different boards.
All of this is free.
There is a membership (currently a one-time lifetime-use fee of $24.95) that gets you additional features:
- Create as many different boards as you want (no limit of 8).
- Make your boards private so no one can find them.
- Customize the online bingo experience (no branding on the page, customize the online dauber, collect names/emails, etc.)
- Get a dashboard so you can see the player’s cards in real time and verify bingo easily.
- Get your own URL where all of your bingo boards are located to easily find and edit/share them.
This isn’t an affiliate or sponsored in any way, but I really recommend getting the membership. It’s been so worth it to me (and it’s just one fee for the rest of your life!).
Bingo Creator by Bearwood Labs
The second one I recommend is Bingo Creator by Bearwood Labs. This program uses PowerPoint to let you generate customized bingo boards. This one costs $39 (one-time fee, no free version available).
I have purchased this, too (again, no affiliate or sponsorship – I just like it).
It’s got some cool features:
- Use the fonts you have on your computer.
- Create bingo boards of virtually any size (7 x 5, anyone?)
- Customize the board to make it visually attractive.
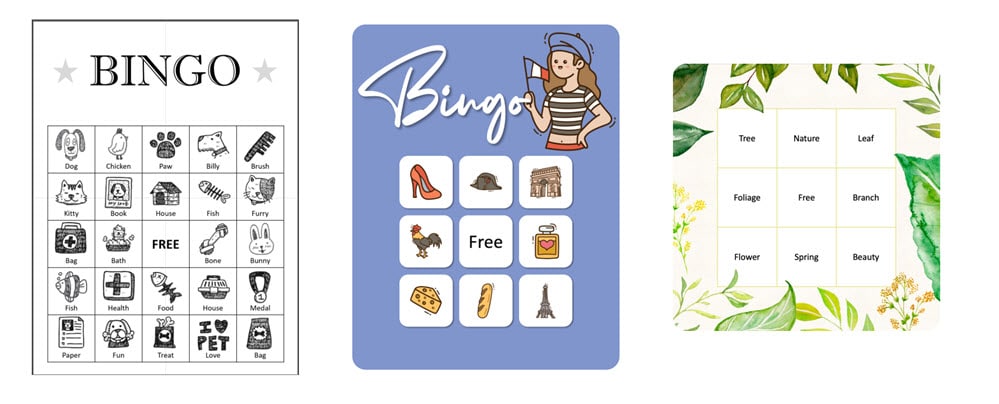
Here are some examples from their website of boards that were created with it.
Ways to use bingo in classroom instruction
Obviously, the most common way to use bingo is as a whole-class activity. It’s fun game that’s easy to play. It’s got the benefit of full engagement, so that’s a plus.
There are other ways to use your bingo boards, so you may want to try one of these ideas:
- Use the bingo boards as a matching activity for seat work or a center activity. To do this, cut out squares with the answers and have students match them to the squares on the board with the clue (So you’d have “3×5” on the board and a square that had “15”). If you want to make these reusable, you may want to laminate the boards. To make it even more stable, put dots of Velcro on the laminated boards and answer squares.
- Have students play in partners or small groups, as opposed to whole-class play.
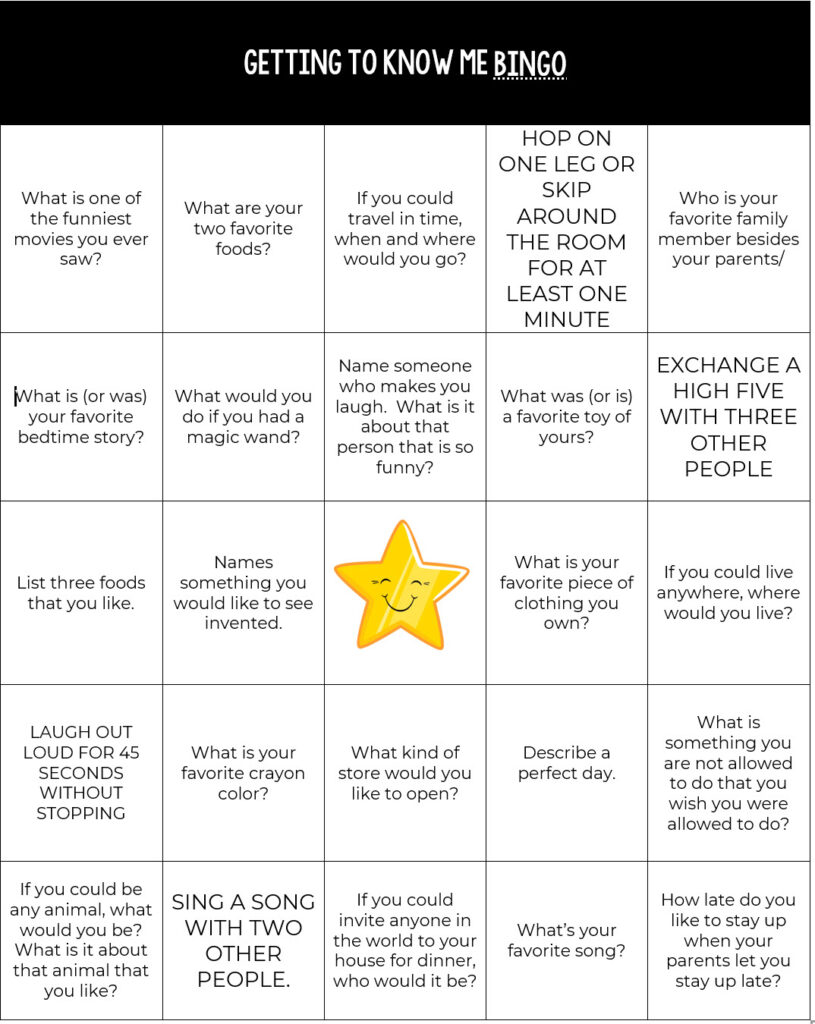
- Use it as a getting-to-know you activity. I use this “Getting to Know Me Bingo” as an icebreaker activity. You don’t need to wait for the beginning of the year – it can be played anytime. You can get a copy here.
Whether you use a program or YOLO make it yourself, bingo can be a powerful review tool in your class. Follow these simple tips, and you’ll be on your way to being a bingo master!

