Monitoring students as they work independently or in groups can be tricksty. Here are issues I’ve encountered:
- I can’t tell who’s done and who’s not.
- Students who have questions raise their hands and sigh loudly when I don’t magically appear next to their desks. (Bonus for heavy sighs followed by “Mrs. VAN!” with a shift from a right raised hand to a left raised hand)
- I want to avoid interrupting them if they don’t need to be interrupted. I’ve read a lot about how interruptions affect our brains, and I’d like to prevent myself from being the cause of that kind of brain disaster.
- I need to distinguish those who have a question but can keep working from those who are dead in the water.
- I need a quick way to do a check for understanding, even if the internet is down or apps aren’t working or we’re not using devices or….. #teacherproblems
Enter…Progress Cards.
I’m sure there are loads of variations of these (after all, teaching is the art of stealing from other, often better, teachers), but I thought I’d share mine in case someone wants to try them. I find them super, super useful.
WHAT THEY LOOK LIKE
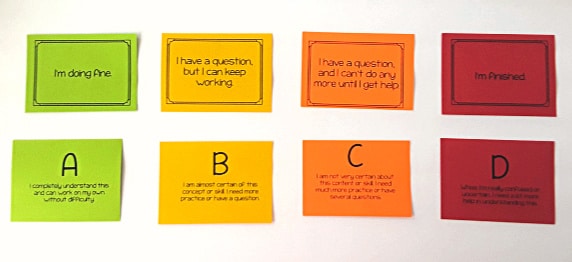
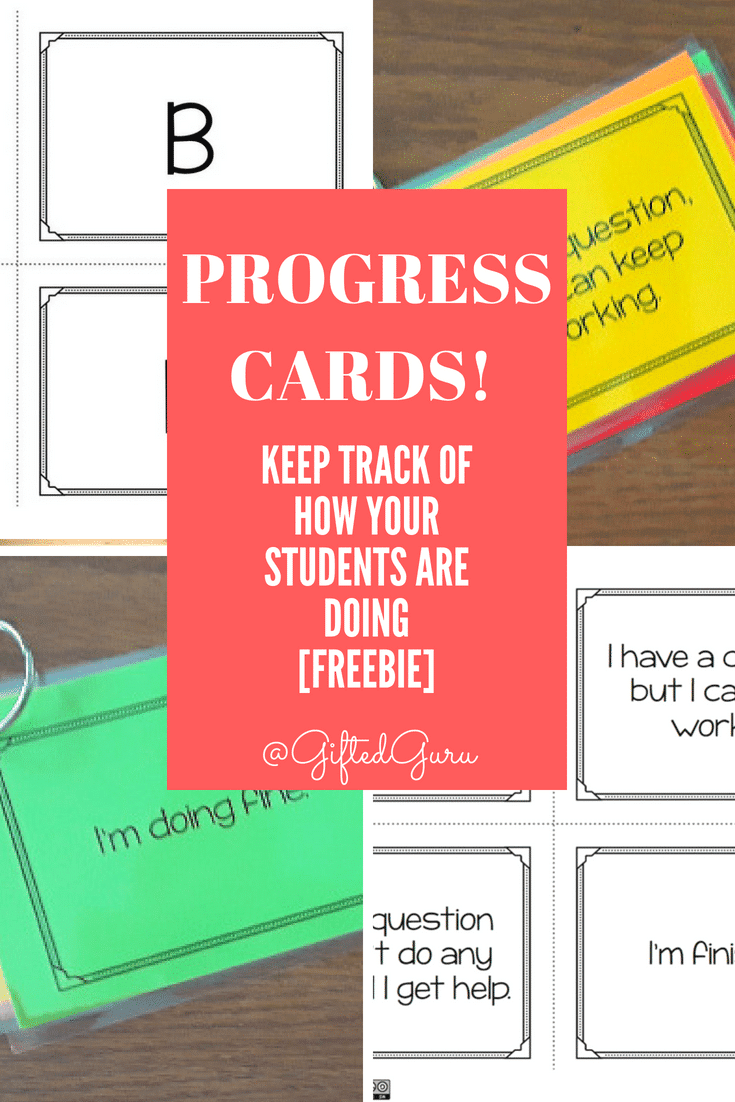
The progress cards are two-sided, with four statements on one side.
The statements are:
- I’m doing fine. (GREEN)
- I have a question, but I can keep working. (YELLOW)
- I have a question, and I can’t do any more until I get help. (ORANGE)
- I’m finished. (RED)
On the other side, there is a letter (A – D) and another statement.
Those statements are:
- A – I completely understand this and can work on my own without difficulty. (GREEN)
- B – I am almost certain of this concept or skill. I need more practice or have a question. (YELLOW)
- C – I am not very certain about this concept or skill. I need much more practice or have several questions. (ORANGE)
- D – Whoa. I’m really confused or uncertain. I need a lot more help in understanding this. (RED)
Each card is the color indicated in parentheses.
Here’s what the fronts and backs of the cards look like before I assemble them:
HOW I USE THEM
While students are working independently or in groups, they use the cards to show me how they’re doing.
There are four scenarios:
- They’re working and everything is fine. They have no questions, they’re using their time and materials effectively, they’ve got no tech issues, and they don’t need anything. They would have the GREEN “I’m doing fine” card on top.
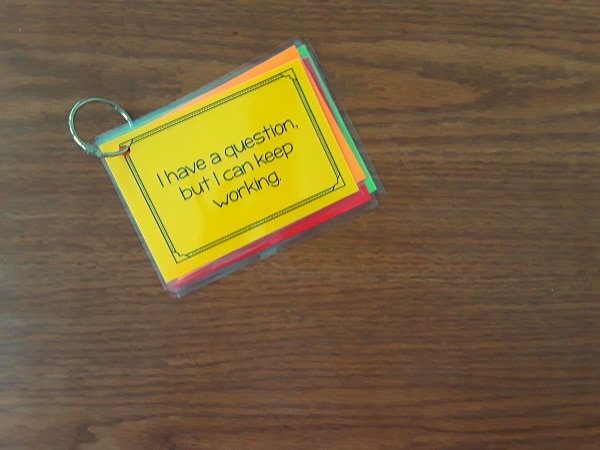
- They’re working and have a question or they are struggling with using their time or materials. Maybe they have a tech issue. They need help, but they can keep working in the meantime. They would have the YELLOW “I have a question, but I can keep working” card on top.
- They’re experiencing a complete work stoppage. They have a question or a problem that has them dead in the water. No progress can be made until this is addressed. They would have the ORANGE “I have a question, and I can’t do any more until I get help” card on top.
- They’ve finished their work. They would have the RED “I am finished” card on top. (You’d probably figured that out, hadn’t you?)
There’s nothing like looking around a classroom with the desks a sea of green. Sigh.
Who am I kidding? That only ever lasts three minutes. But it’s a glorious three minutes, friends.
Usually, there’s a whole lotta this thrown in:
I’ve got ideas for what to do when kids are finished, and you can find those here:
What to Do With the Other Side
I use the A/B/C/D side to make them do double duty. Now, I can check for understanding with multiple choice questions or colors.
If I ask a multiple choice question, students hold up their cards that match the answer they choose.
If I’m checking for understanding, the students can choose the color whose statement matches their level of understanding and hold it up or even leaving it lying on the desk. I can then see who needs more help.
HOW I MAKE THEM
You can print them on the colored card stock from the beginning if you are brave prefer. I always mess it up, and card stock is expensive, so I just print the paper first. You can change the colors if you would prefer to use some other family of colors. You can print them on the colored card stock from the beginning if you are brave prefer. It’s important that each card has its own color and that everyone’s cards are the same (All “I’m doing fine” cards are the same color, etc..).
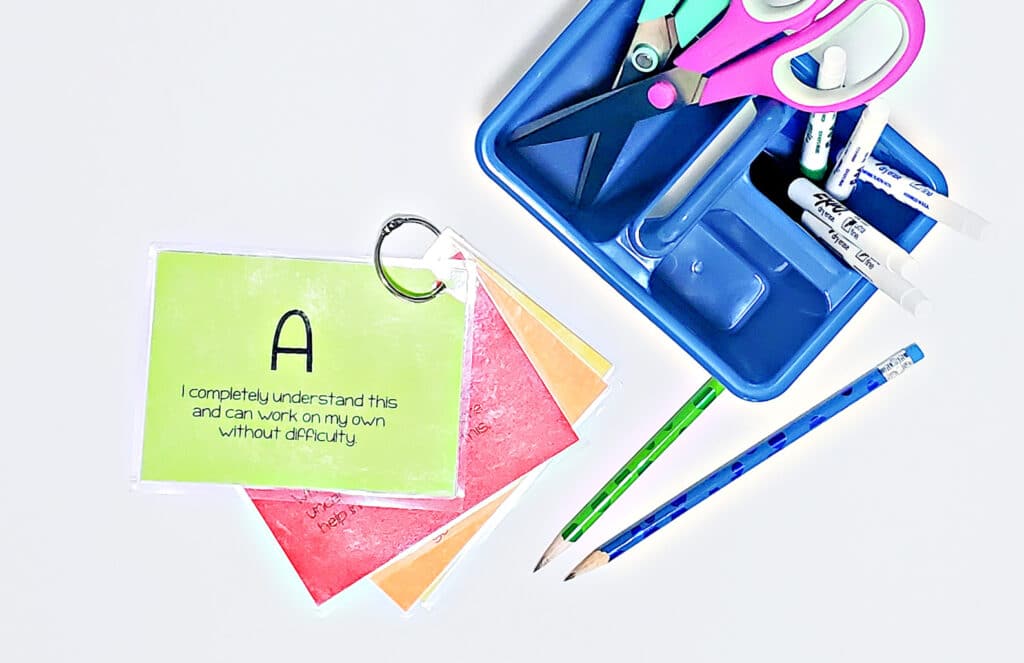
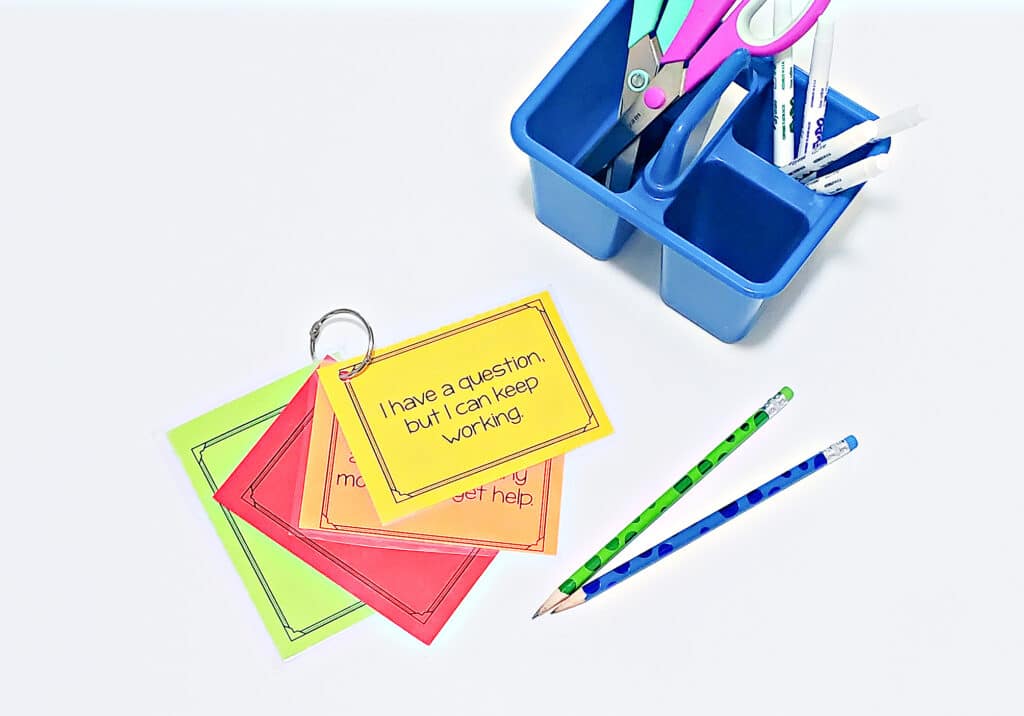
I cut them up, and then I laminate mine for durability (and because, let’s face it, laminating with this baby is partly why I’m a teacher). I sort them into sets (one card of each color).
I then punch a hole in the upper left-hand corner of each card, run a metal ring through all four, and voilá, Progress Cards!
It works beautifully to put a wire Command hook on each desk from which the ring can hang.
Would you like to try them? You can download them for free.
I hope that these work as well for you as they do for me. Any questions? Thoughts? Ideas? Variations?
If you like ideas like this, you may like my free monthly newsletter.
You may also like:

Note: Sometimes I use affiliate links, which means that if you click through and buy something, I get a few pennies (to buy books!). It will never cost you anything extra.